Making Your Own Christmas Tree Bow: A Fun and Festive DIY Project
Ho, ho, ho! Are you ready to dive into the magical world of Christmas crafting? Ah, nothing quite captures the spirit of the holiday season like a gorgeously decorated tree. And what better way to make it truly shine than with a stunning handmade Christmas tree bow?
Whether you're a crafting extraordinaire or just love getting your hands dirty with a touch of DIY magic, we've got the perfect project for you. Join us on a jolly journey as we unravel the secrets to creating your very own Christmas tree bow. Get ready to unleash your creativity, spread some festive cheer, and infuse your tree with a personal touch that Santa himself would envy!
From traditional red and green wonders to whimsical, shimmery delights, there's a bow style to suit every taste and theme. But here's the best part: you don't need to be an expert crafter or have an army of elves at your disposal to master this enchanting DIY project. We'll guide you step by step, unraveling the mysteries of bow-making and revealing clever tips and tricks along the way.
Imagine the joy on your loved ones' faces as they gaze upon your Christmas tree, adorned with a show-stopping bow that you created with your own two hands.
And it's not just about the end result—it's about the journey. Get ready to dive headfirst into a world of ribbons, laughter, and the sweet scent of holiday magic.
So grab your scissors, dust off your glue gun, and let's make this Christmas extra special with our very own handmade masterpiece. We promise you'll be filled with a festive spirit that'll make you want to sing carols at the top of your lungs and dance under the mistletoe.
This is your chance to channel your inner elf, sprinkle a dash of holiday sparkle, and create memories that will warm your heart for years to come.
Get ready to dazzle, amaze, and bring the spirit of the season to life with your very own Christmas tree bow. Let the crafting extravaganza begin!
The Art of Christmas Bows: Unleashing Holiday Magic
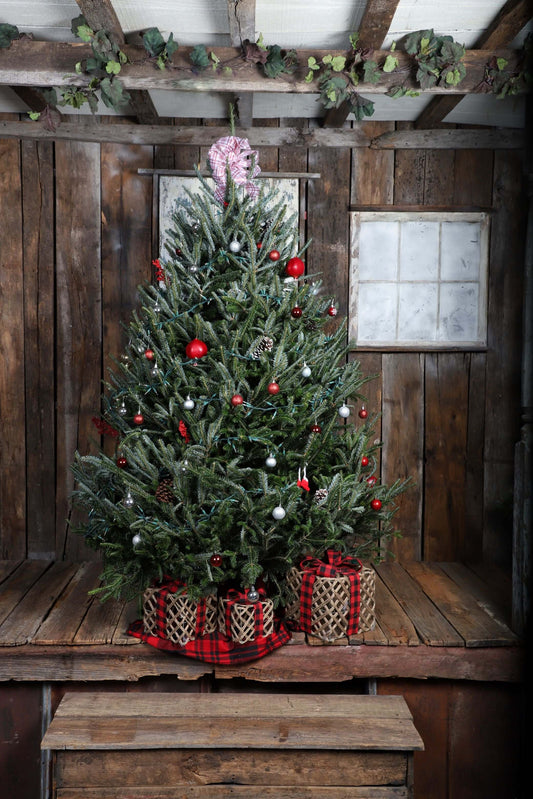
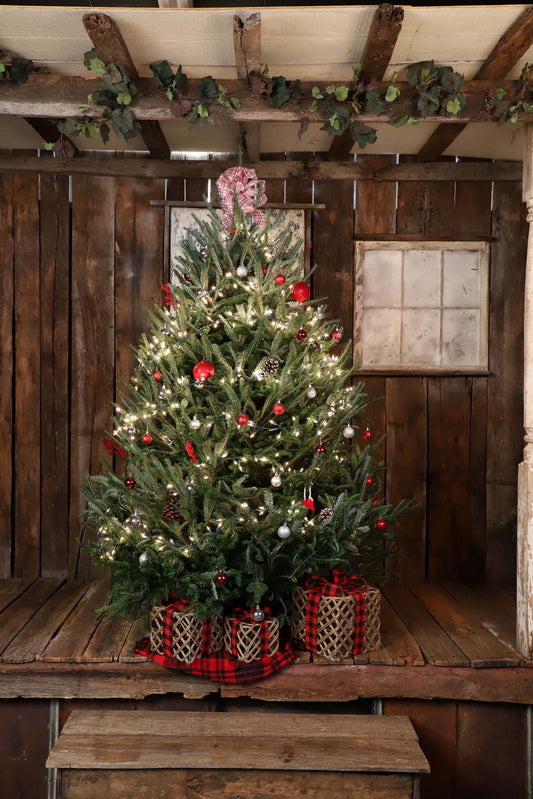
Close your eyes and imagine a Christmas tree adorned with a magnificent bow perched on top like a crown jewel. It's a sight that warms the heart and instantly brings the holiday spirit to life.
But have you ever stopped to think about the artistry behind these festive creations? Christmas bows for the tree have been captivating our imaginations for centuries, serving as a symbol of the season's warmth and joy.
They possess a magical ability to transform an ordinary tree into a dazzling centerpiece that captures the essence of the holiday.
Gathering Your Supplies: Embrace Your Inner Elf
Now that we've established the sheer wonder of Christmas bows, it's time to gather the necessary supplies to bring your own bow masterpiece to life. Channel your inner elf and prepare for some crafting fun!
First, you'll need a ribbon that speaks to your creative vision. Seek out a high-quality ribbon that matches your preferred color scheme and catches the eye. Opt for a wide ribbon, around 2-4 inches, to make a bold and striking statement. Remember, this is your chance to let your personality shine through your creation.
Next up, you'll need some floral wire to shape and secure your bow. Think of it as the secret ingredient that keeps everything in place and ensures your bow stands tall and proud on your tree.
Don't forget to grab a pair of sharp scissors for clean, precise cuts, and keep some wire cutters handy in case your floral wire needs a trim.
Selecting the Perfect Ribbon: A Tapestry of Festive Possibilities
Choosing the right ribbon is like selecting the perfect brush for a work of art. The options are endless, and you're the painter of your holiday masterpiece. Consider your personal style and the overall theme of your holiday door decor for Christmas.
Will you opt for traditional red and green hues, or perhaps go for a modern twist with metallics or pastels? Feel free to mix and match different ribbons to create a dynamic and eye-catching bow that adds an extra layer of enchantment to your tree.
Creating the Basic Bow Shape: Twists and Turns of Wonder
Now, let the bow creation commence! Start by measuring and cutting a long piece of ribbon, around 8-10 feet, depending on the size of the bow you wish to create. Remember, bigger bows make a grander statement.
With ribbon in hand, it's time to work your magic. Take one end of the ribbon and create a loop, securing it in the center with your nimble fingers. Repeat this process with the other end, crossing it over the first loop.
Keep going, creating loops and alternating between sides, until you have a series of loops with twisted centers that resemble a glorious gift in itself.
To ensure your bow holds together, grab that floral wire and secure the twisted center. Wrap the wire tightly around the center, twisting it at the back to anchor it in place. Voila! Your basic bow shape is complete.
Fluffing and Shaping Your Bow: The Art of Fullness
Now that you have the foundation of your bow, it's time to give it that full, voluminous look that will make it truly stand out.
Gently grasp each loop of the bow and fluff them up like a peacock displaying its feathers. Spread them out, adjust their positioning, and shape them into a pleasing arrangement that brings your bow to life.
With each adjustment, you'll see your creation taking on its own personality, ready to charm anyone who lays eyes upon it.
To add that finishing touch of finesse, grab your scissors and give the ribbon ends a stylish trim. Consider cutting them into a classic V-shape or angle for a professional and polished look that screams craftsmanship.
Attaching the Bow to the Tree: Securing Your Majestic Masterpiece
Now that your bow is a true work of art, it's time to find its perfect place on your tree. There are a couple of tried-and-true methods for attaching your creation securely:
For those who prefer a bow nestled among the branches, use a longer piece of floral wire. Wrap the wire around a sturdy branch, thread it through the back of the bow, and twist it tightly to hold everything in place. This ensures your bow stays put, no matter how many joyful dances your tree may experience.
If you're a fan of a freestanding bow atop your tree, consider using a tree topper stand. Simply place your bow on the stand and position it at the desired height, allowing it to command attention and take center stage in your holiday decor.
Showcasing Your Creativity: Let Your Imagination Run Wild
Why stop at just one bow when you can create a festive symphony of bows on your tree? Embrace your inner artist and make multiple bows in various sizes, colors, and textures.
Mix things up by experimenting with different ribbon textures, like satin, velvet, or burlap. Let your imagination run wild as you curate a personalized collection of bows that adds depth, variety, and an extra sprinkle of holiday magic to your tree.
In the enchanting world of Christmas tree bows, you are the master of your own creative destiny. So, unleash your inner elf, dive into the crafty wonderland, and let your tree become a true reflection of your holiday spirit.
Get ready to bask in the awe and admiration of friends and family as they marvel at your DIY bow mastery. Happy bow-making, and may your holiday season be filled with joy, laughter, and an abundance of creativity!
Conclusion
Creating your own Christmas tree bow is a delightful and rewarding DIY project that allows you to infuse your holiday decor with your own personal style. Whether you prefer a classic and elegant bow or a playful and whimsical one, the key is to have fun and let your creativity shine.
So, gather your supplies, follow the steps outlined in this article, and prepare to adorn your Christmas tree with a stunning handmade bow that will capture the magic of the season. Happy crafting, and may your holiday be filled with joy, love, and beautiful decorations!


